Add OneLogin authentication to your Scuba instance
Before you start...
If you've chosen to use OneLogin as your authentication provider, you'll need some information from Scuba before you begin configuring the Scuba application in OneLogin. Your Scuba team will provide you a Sign-On URL and Audience URL that you will need for OneLogin configuration.
This documentation will use the following URLs as examples, but make sure you use the actual urls provided by your Scuba team.
Example Sign-On URL: https://yourcompany.scuba.io/api/saml/onelogin
Example Audience URL: https://yourcompany.scuba.io/api/saml_metadata/onelogin
Once you have these URLs, you are ready to configure Scuba in OneLogin.
OneLogin Configuration
Open the OneLogin Admin Portal in a web browser.
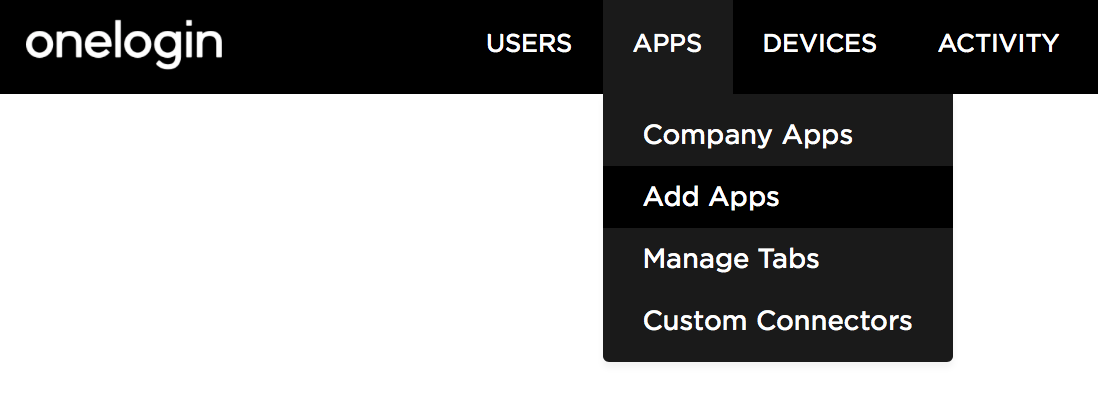
At the top of the screen, click "Apps", and then select "Add Apps".
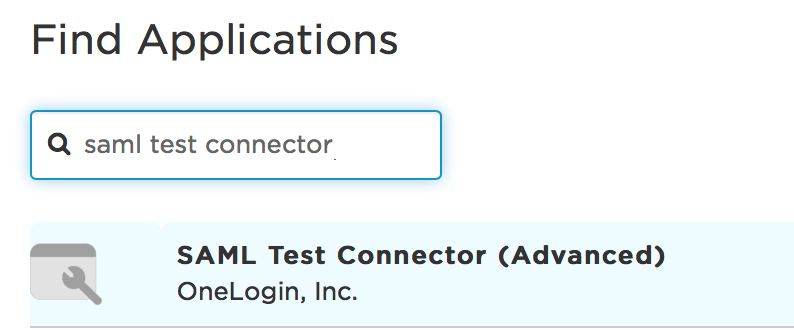
3. Use the search bar to find "SAML Test Connector (Advanced)", then click on its icon.
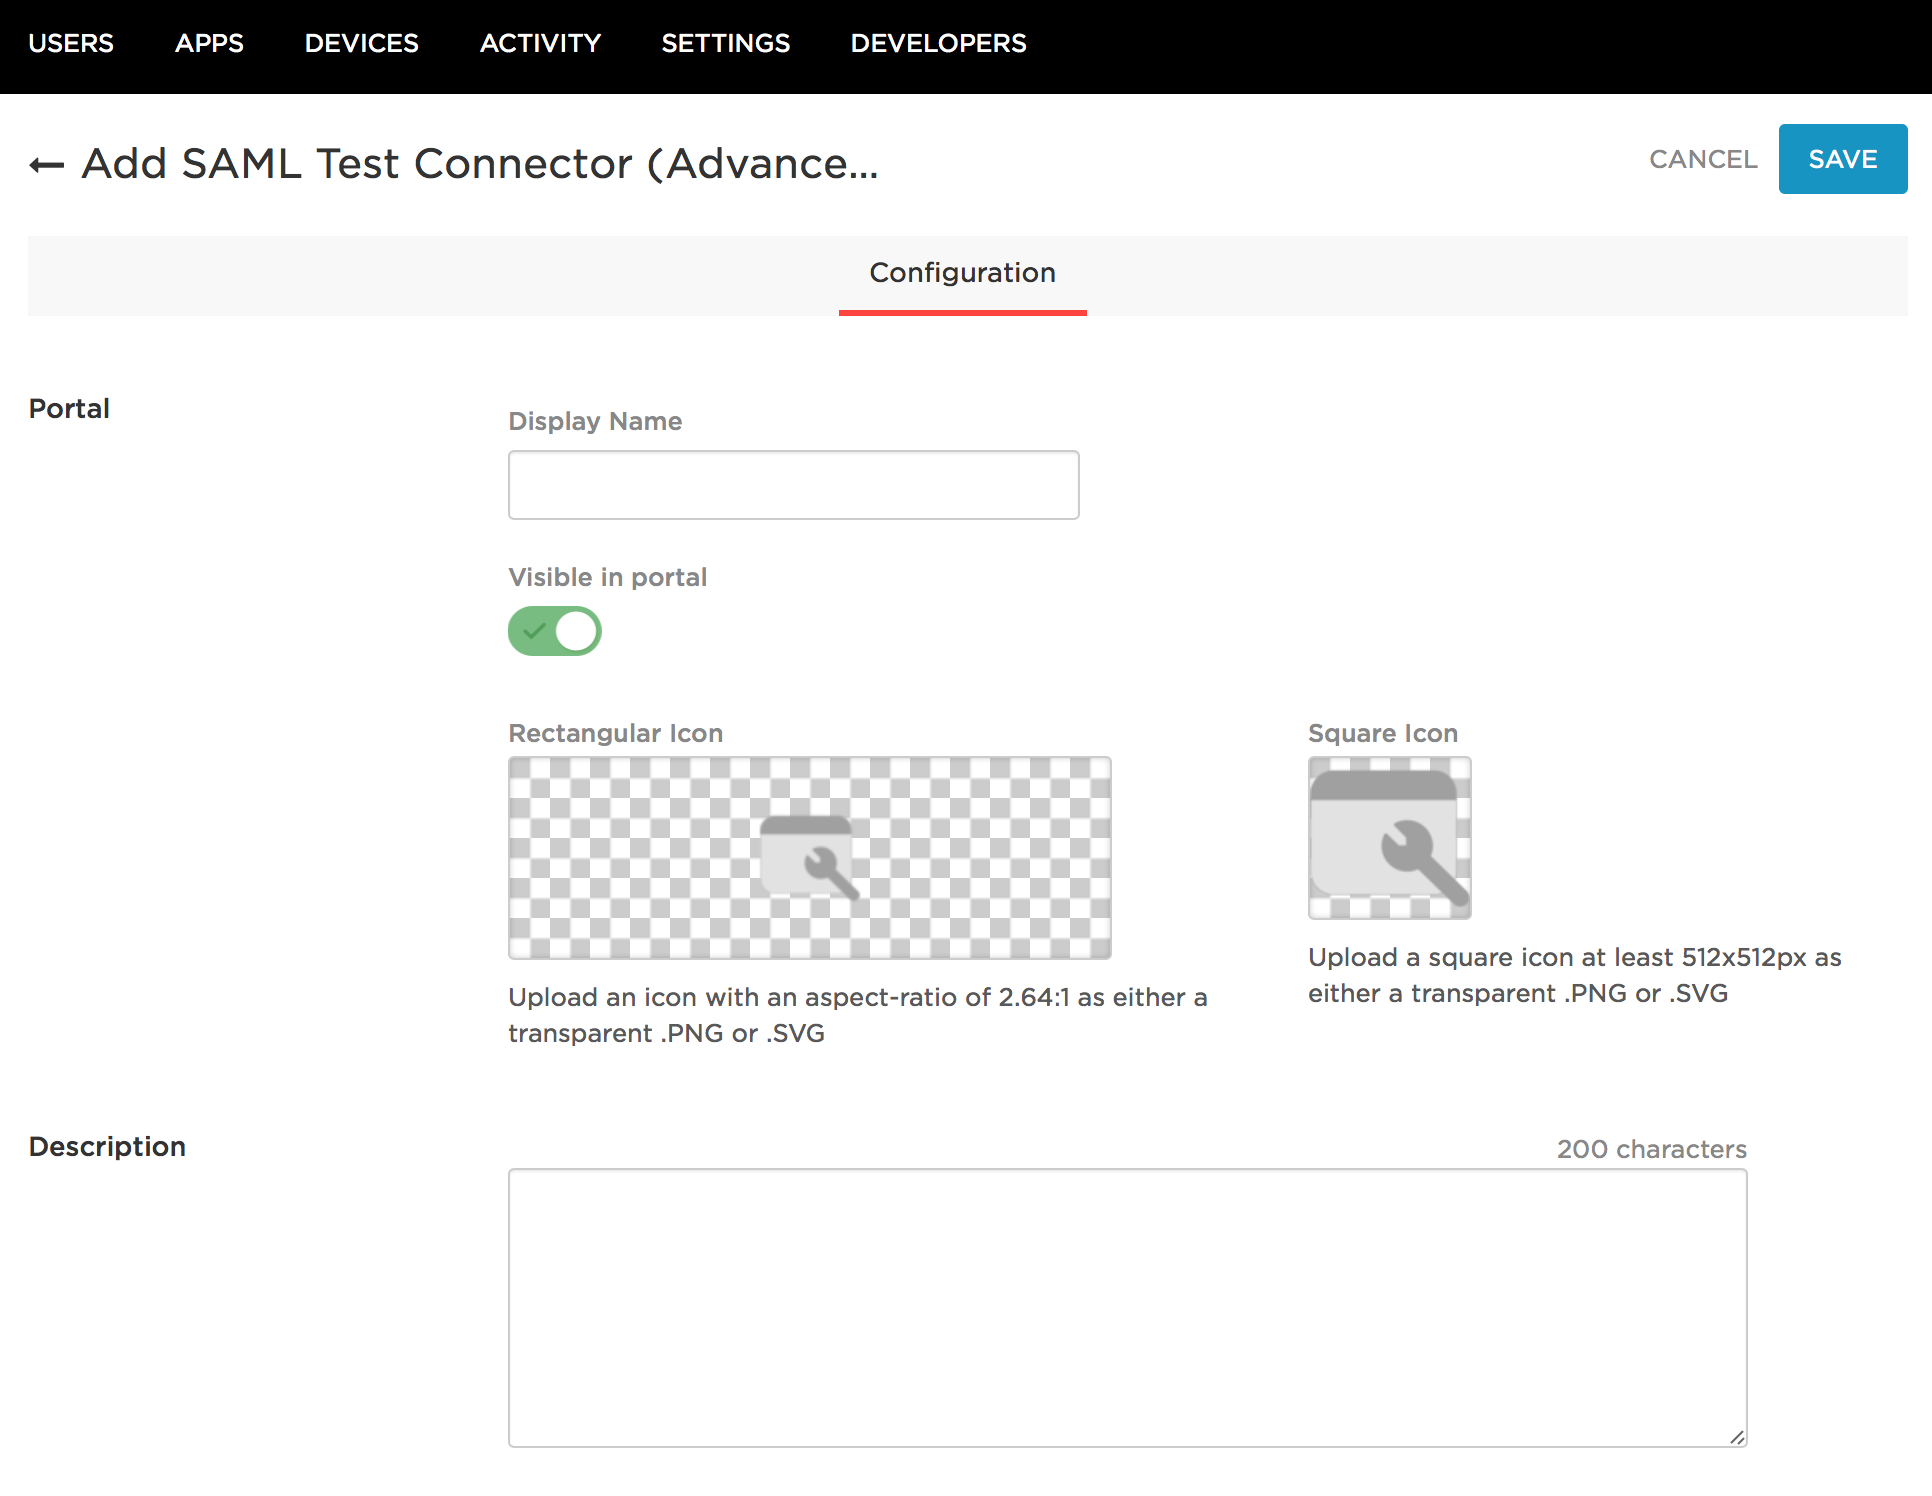
4. On the Configuration screen, give your OneLogin Scuba application a name (any name you want), then click Save.
5. You will now see a new set of screens. Click the Configuration tab again.
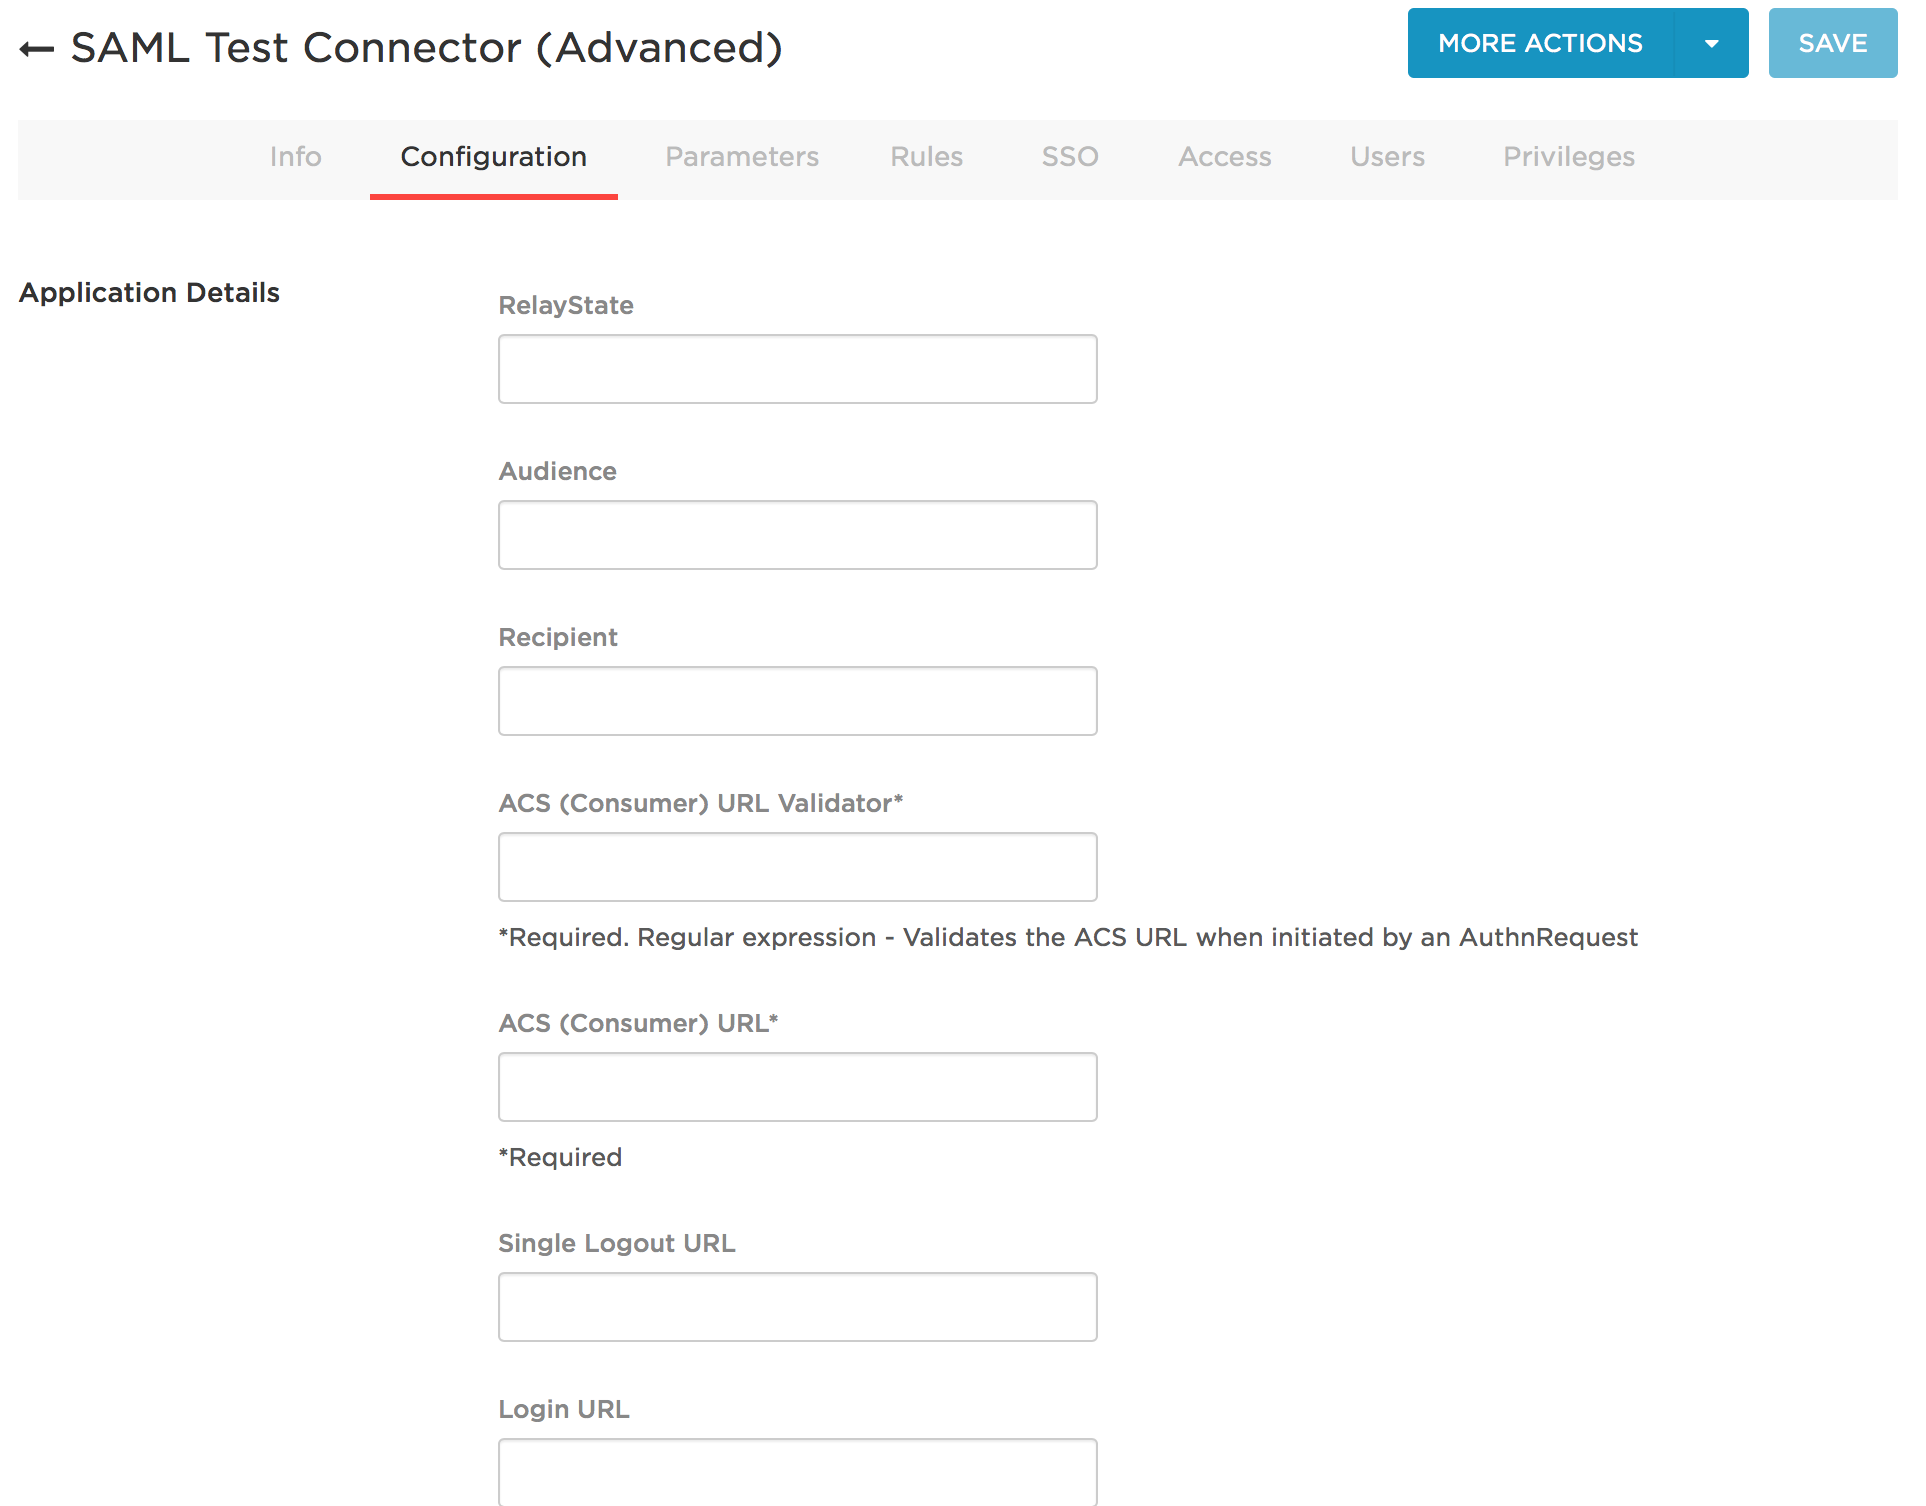
6. You will be prompted to enter information about the application. Please leave everything as the default except the following fields:
a. Audience: enter the Audience URL from your TAM
example: https://yourcompany.scuba.io/api/saml_metadata/onelogin
b. Recipient: enter the Sign-On URL from your TAM
example: https://yourcompany.scuba.io/api/saml/onelogin
c. ACS (Consumer) URL Validator: enter a regular expression that matches the Sign-On URL. See OneLogin's help article for guidance.
example: ^https:\/\/yourcompany\.scuba\.io\/api\/saml\/onelogin$
d. ACS (Consumer) URL: enter the Sign-On URL from your TAM
example: https://yourcompany.scuba.io/api/saml/onelogin
e. Login URL: enter the Sign-On URL from your TAM
example: https://yourcompany.scuba.io/api/saml/onelogin
f. SAML Initiator: OneLogin
g. SAML signature element: Assertion
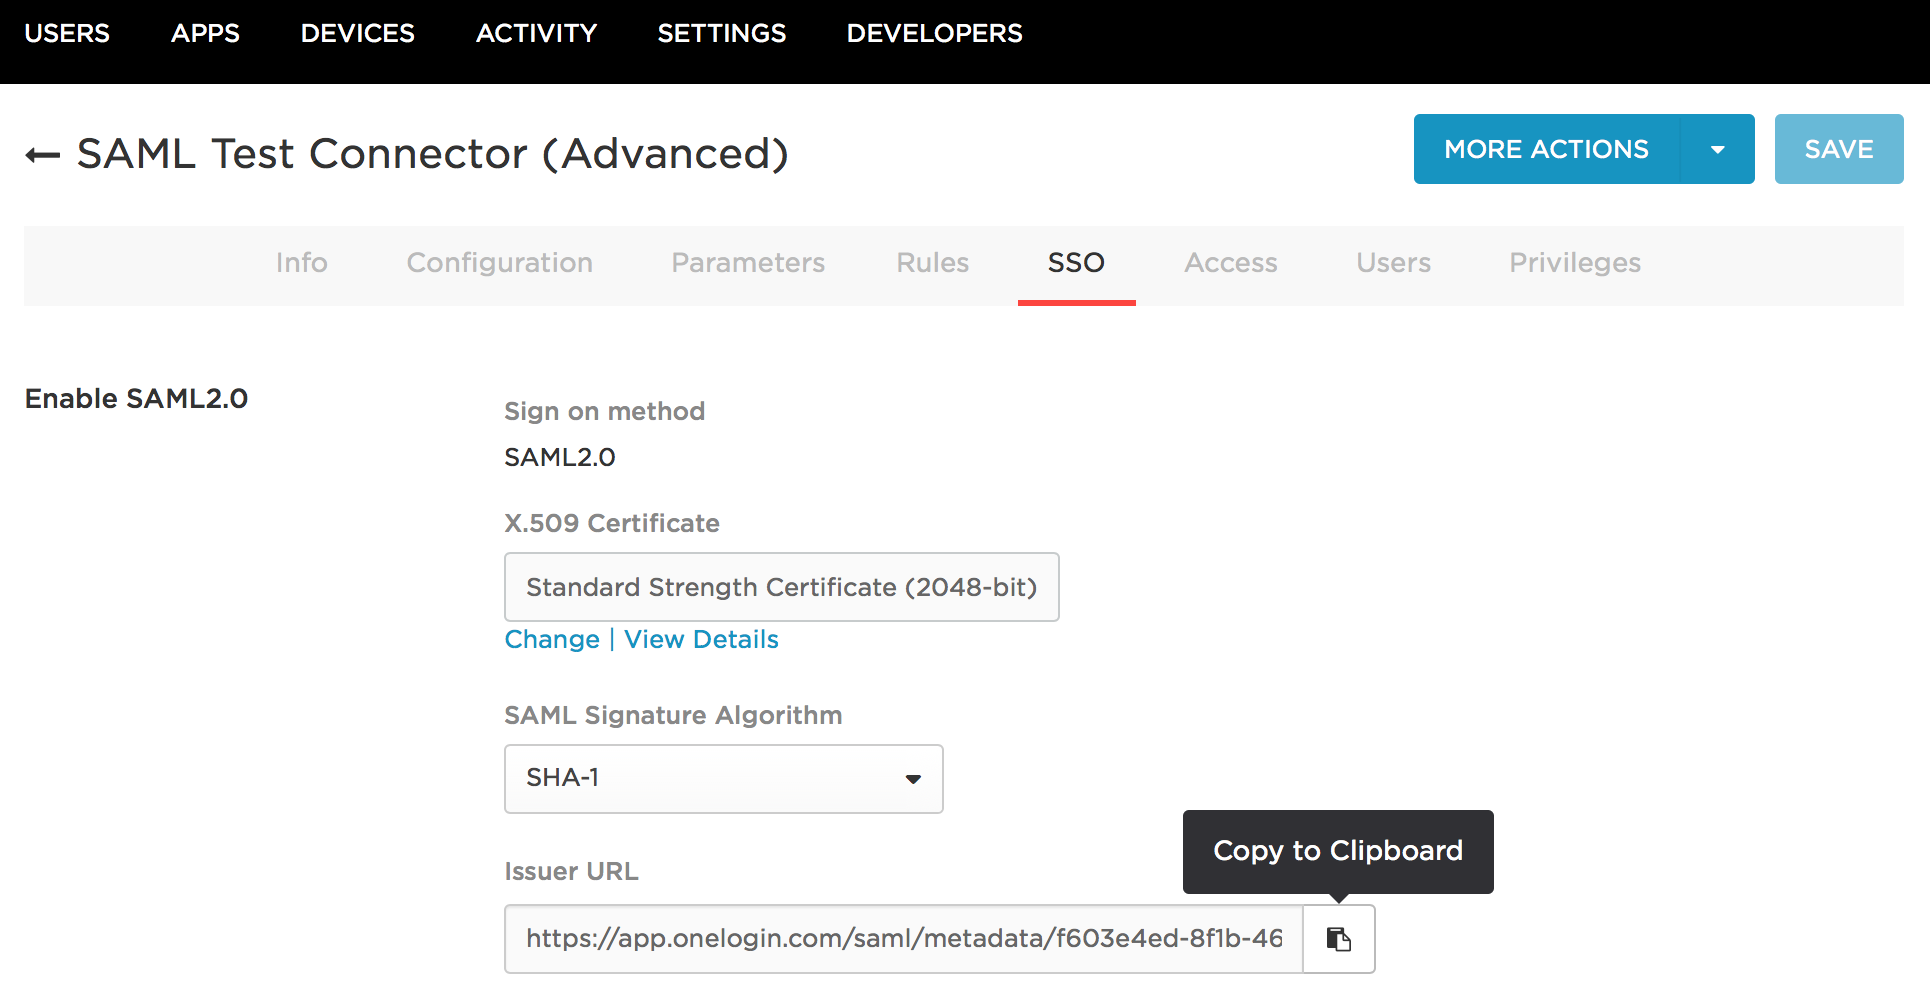
7. Click Save, then click on the SSO tab. Copy the Issuer URL and send it over to your Scuba team.
8. Now you can go ahead and assign users to your application.
What's Next
Don't forget to send us your Issuer URL! Once we have that, we can get everything hooked up on our side. We will work with you to plan a time to switch over to the new authentication flow and have someone on your team validate that everything is working properly.