Create an Actor Property [v5]
An actor is the someone or something that performs an event. In the context of an event, the actor refers to the entity responsible for its execution. This entity may take the form of a user, a physical object (such as a device), a digital object (like a service), or a bot.
Actor columns are specified during the data onboarding process. An actor is one of the mandatory fields for every logged event, along with a timestamp. You can associate a property with an actor using one of the following methods:
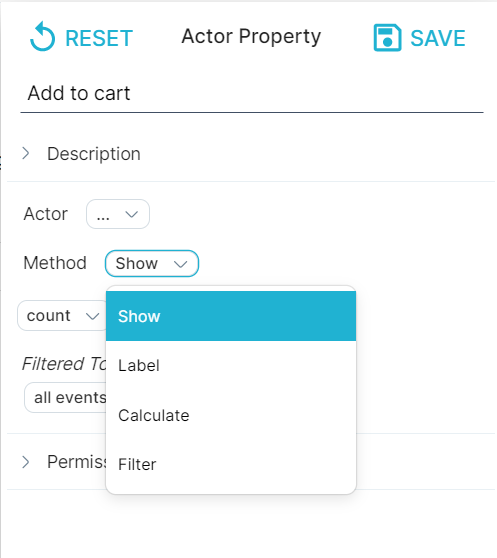
Show: The most common actor properties aggregate events or flows.
For example, an actor property of count number of sessions for sessions with total time >5 minutes.
Filter and label: If you have several actor properties, you might want to perform a bucketing operation.
For example, if "Num5MinSessions > 10" then "heavy user" otherwise "light user". If you have a single if/then statement, use the Filter method. If you want to sort events into several buckets, create a case statement using the Label method.
Calculate: You can perform a mathematical function and apply it as an actor property.
For example, if you have “Num5MinSessions” and “Num60MinSessions,” you can apply a function that returns a ratio of the two for the actor property.
Defining an actor property
This section demonstrates how to create an actor property using the Show method. In our example, we create an actor property that determines the add_to_cart events by each user. You can apply the principles from this example to create your own actor property.
To create an actor property, do the following:
Choose a dataset from the drop-down list at the top of the window. In this example, we chose the hooli-infinity dataset. The options available to you will reflect your data.
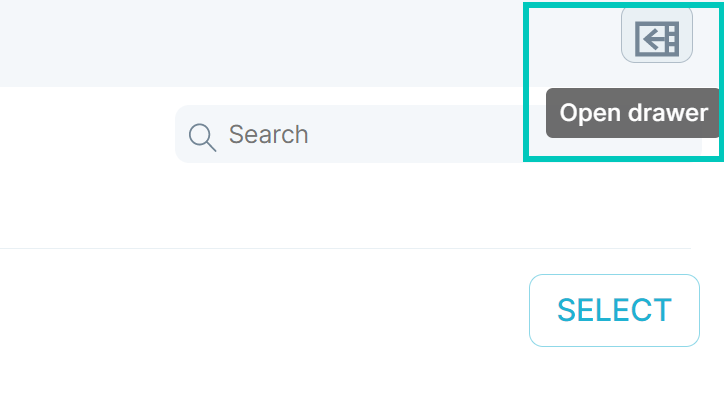
In the left menu bar, click Data. Click the Drawer icon in the upper right, then select the Actor Property icon.
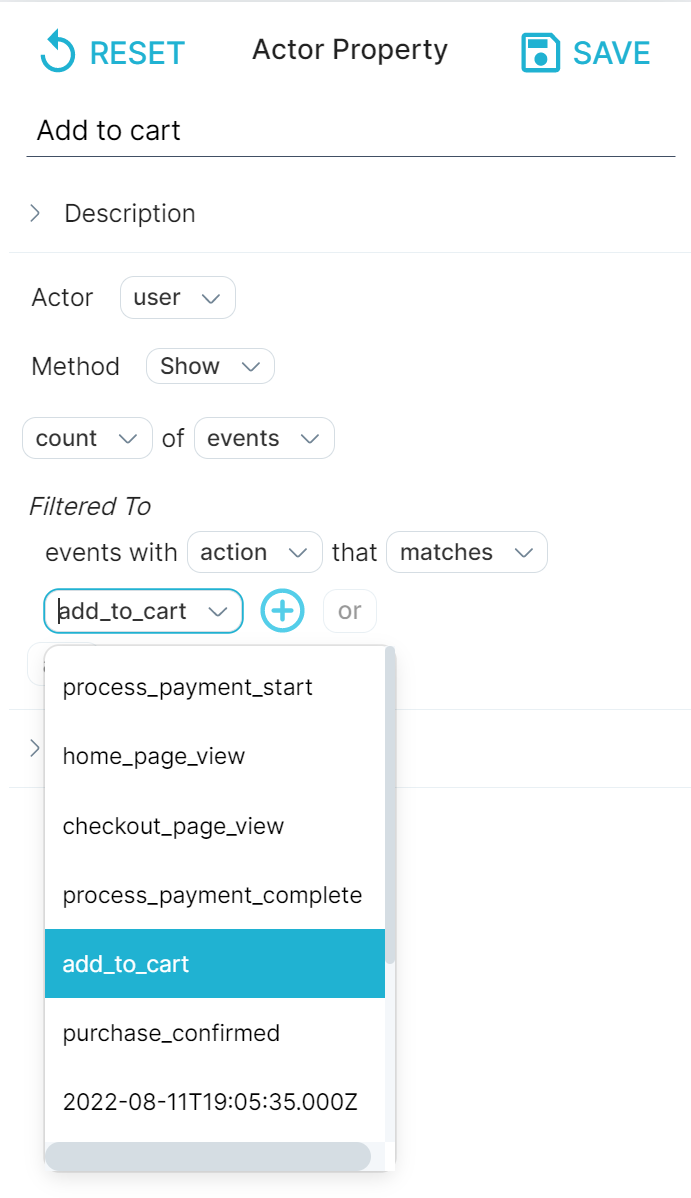
At the top, enter a unique name for the actor property, like Add to cart.
Select an actor from the drop-down list. The options available to you reflect your data.
Next to Method, select the method you want to use for your property. We accepted the default value of Show.
Next to Filtered To, click All events to access the dropdown options. We selected action. The text automatically updates to events with action that matches.
Next to matches, click the box to access a dropdown with suggestions. We selected add_to_cart.
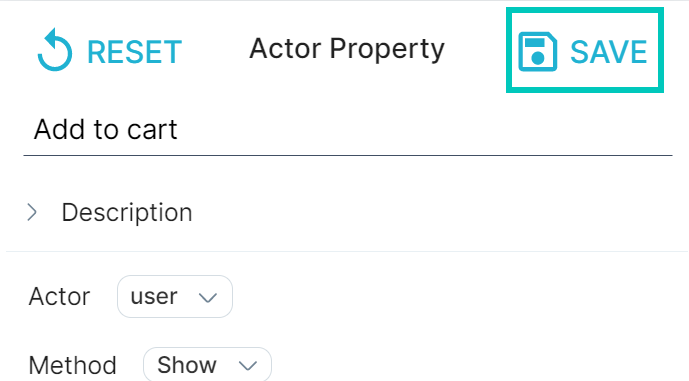
Hit Save in the upper right to save the newly created property.
What's Next
You've successfully created an event property and actor property, now you'll want to learn how to: